Tuesday, May 1, 2012

Naan (bread)

While preparing Chicken Tikka Masala - I desired delicious Naan to accompany my Indian Restaurant meal.  Having made a different type of flatbread in my family, preparing naan was totally new to me and I was skeptical of how it would turn out...

In the end, I had nothing to fear as my naan cooked perfectly and was great with my Chicken Tikka!

Ingredients:
1/2 package Instant Yeast (or less than 1 Tbs)
1/2 cup Water -Warmed
2 Tbs Sugar
1 1/2 Tbs Milk
1/2 Egg beaten
1 tsp Salt
2 1/4 cup All Purpose Flour*
*Note- you could use wheat flour as a healthy alternative but honestly, the naan wont be as good as the white flour makes the dough soft and stretchy!
1 Tbs Olive oil

Bloom/Proof the yeast (like we did when making Pizza) with the water in a large bowl.
Add the sugar, milk, egg, salt, and flour.  Mix well till the dough comes together and is soft.
Oil the bowl and allow the dough to rise for 1 hour till dough doubles in size.
Separate the dough into balls of equal size - about 6 golf ball sized dough balls will be made.  Use some flour to roll the balls of dough.  Set the balls on the counter and lightly cover with a cheesecloth or saran wrap - allow the dough to rise a second time for about 20 minutes.

While waiting, put a pizza stone in your oven and preheat to 475-500⁰F.
Allow the stone to get nice and hot (if you don't have a stone, cook your naan outdoors on a grill or on a griddle pan on the stovetop).

Once you are ready to cook your naan - melt 2 Tbs of Butter and set aside
Roll out your first ball of dough into a thin round circle on a floured surface.  Make sure to keep your counter floured so that the dough will not stick.


Using a brush, spread some of the butter on the dough, and poke your rolled out dough with a fork.
Put this first round of dough on the hot stone and cook for 2-3 minutes until puffy and golden brown.
Continue for remaining dough.


Enjoy your Naan plain, with Chicken Tikka Masala, or add garlic to the melted butter and sprinkle cilantro to make Garlic Naan!


Chicken Tikka Masala

This is my attempt to replicate Indian restaurant food- which is unlike true Indian food but still very tasty. I also have a recipe for my first attempt to make Naan.
The spices used can be found in large supermarkets as well as specialty Indian/Pakistani stores.


Chicken Tikka Masala


Ingredients:
Chicken Marinade
1-2 lbs Chicken breast (I used tenders but whole or cut breast meat is also good)
2 tsp Cumin powder
2 tsp Ground Corriander
1/4 cup Yogurt (I used my homemade skim yogurt)
1/2 Tbs Salt

Coat the chicken with salt, cumin, and coriander. Then mix in and coat the chicken with yogurt. Let the chicken marinate for one hour (can do ahead overnight too).

Marinated Chicken 


Broil the chicken 5-7 minutes on each side.  Allow the chicken to cool.  Once the meat is cool to the touch, chop into 1 inch chunks.


Broiled Chicken

Either while the chicken marinates or after putting the chicken in the oven, begin to cook the Basmati rice:
Basmati Rice - sorry no pics!
2 cups Basmati rice
3 cups of Water
1/2 tsp Tumeric

Rinse the rice very well - until the water is almost clear.  You can cook the rice in a rice cooker, adding the water and cumin or bring water to a boil on the stovetop, add the rice and tumeric, and then turn the stove very very low - cooking the rice for almost 40 minutes or until the water cooks off and rice is tender. 

Finish cooking the chicken while the rice cooks:
Chicken Tikka:
3 Tbs Butter
1 large Onion chopped
4-5 cloves Garlic chopped
2x1 inch chunk of Ginger - finely minced
1 Tbs of salt (I prefer to use less, like 1/2 Tbs)
1 can of diced Tomatoes
1 small can of Tomato sauce
3-4 Tbs Garam Masala
3 tsp Cumin
2 tsp of Chili Powder (or more to taste)
1/4 cup Half & Half or Heavy Cream (optional to use more ~1/2 cup)
1 cup Water
4 Tbs Chopped Cilantro (a big handful chopped)

Finely chop your onion and garlic.  Also mince the ginger - I used a microplane and that was fast and didn't leave any chunks.


Garlic on top left, ginger on bottom left and onions on right


In a large saucepan, melt the butter on medium heat (too high and it will burn).  Add the garlic and onions and cook about a minute, then add ginger and continue to cook till lightly they are almost melted - soft and aromatic.


Cooking onions, garlic, & ginger till clear

Add the salt to the mixture and then the tomatoes and tomato sauce.  Cook the mixture over medium-low heat.  Add the remaining spices (garam masala, cumin, chili powder, and additional salt/pepper to taste).


Tomato mixture and spices added

Allow the mixture to cook for about 5 minutes and add the half and half (lighter version) or heavy cream (rich and fatty!).  


Half&Half added


After 5 more minutes, add the chicken. Continue to cook the chicken tikka over low heat till the cream is fully cooked through - about 10 minutes.  *If you feel that your chicken tikka is too thick and wish to create more sauce - add some of the water in 1/4 cup increments - you may need to adjust the spices (adding more but being careful not to add tablespoon fulls - don't add too much!).  I added about a cup more of water and used about 4 Tbs garam masala and more chili powder and continued to allow the water to cook through another 10 minutes (so the sauce wont be a watery mess).

Once you are ready to serve your meal - sprinkle the chopped cilantro over the chicken tikka masala.

Serve your delicious masala with the Basmati Rice and Naan Bread!


Final dish with cilantro!

Chicken Tikka Masala with Basmati Rice


Chicken close up!


Monday, April 9, 2012

Homemade Yogurt

I recently rediscovered how much I enjoy plain yogurt or greek yogurt for a quick breakfast or snack and now with more frozen yogurt chains serving tart and tangy yogurt (like Pinkberry) I can enjoy a delicious yogurt-y dessert too.  I especially enjoy greek yogurt with either strawberries and blueberries, or nuts and honey (for an added bonus, with a few drops of vanilla extract).  Today's recipe is how to make homemade yogurt, it is actually quite easy - provided you have a little time.

Ingredients:
-6 tbs Plain (unflavored) yogurt (previously made or store bought)
-1 Gallon Milk (of your desired fat percentage)

I like using non-fat milk and yogurt but for a richer, creamier texture you can use 2% or whole milk.

First - reserve a few (~3) tablespoons of milk and mix with the 6 tbs of yogurt - this is your starting culture.


Pour the remaining gallon into a large pot (I used a dutch oven because it retains heat really well and I don't have to pour my yogurt mixture into a second bowl or pan later.  If you use a regular pot, it is ideal to pour the yogurt into a glass or ceramic bowl to set overnight).

Heat the yogurt till just before it is boiling - you will see steam and frothing (the temperature should be ~180⁰ if you have a thermometer).  Be very careful to keep stirring the milk as it may burn on the bottom of the pot.


Once the milk is heated, set it aside to cool (if not using a dutch oven, pour milk mixture into your glass/ceramic bowl).

The milk should cool to about 105-110⁰ - warm but not hot so that the cultures in the yogurt will not die when they are added.

Stir in the reserved yogurt mixture to your warmed milk.

Cover and wrap in a large towel and let it sit in a warm area overnight for up to 12 hours (do not place near an air conditioner vent).  I let mine set on the kitchen counter.


The next day voila: Yogurt!


The yogurt is ready as is and usually can be stored for about a month or so (I've never had it sit longer but just make sure it smells like yogurt and has no mold).

In order to make Greek Yogurt - just strain your freshly made yogurt for 5 hours or longer in the fridge.  The  excess water will drain and the yogurt will be nice and thick.


Enjoy however you like!


Friday, January 20, 2012

Tomato Eggplant Soup

A hearty fall or winter soup that is fairly easy to make and very satisfying!

Ingredients:
1 lb plum tomatoes
1 lb eggplant
5-6 medium carrots
2 cloves garlic
1 tbs curry powder
2-3 tsp kosher salt/to taste
1 tsp pepper/to taste
2 tbs olive oil
4-6 cups water
plain yogurt

Recipe:


Preheat the oven to 400°F and spray a sheet pan with oil.
Cut the eggplant into large pieces, halve the tomatoes, and roughly chop the carrots.
Place the vegetables onto the pan and drizzle with 1 tbs olive oil and lightly sprinkle the kosher salt.
Vegetables Before
Let the vegetables roast for 40 min to 1 hour.
Take out the vegetables and let them cool.
Vegetables After
As the vegetables cool, finely chop the garlic.

When you can handle the vegetables by hand, peel off the tomato and eggplant skins (should easily slide/peel off after roasting in the oven).
Place all the vegetables into food processor and blend till smooth (may need to add some of the water here to fully puree).
To get rid of seeds and any remaining bits of skin, strain the vegetable puree.  I don't have one of those fine mesh soup strainers but I used a strainer that I use for draining fried foods.
Straining puree with liquid
This may be the most labor intensive step in the whole recipe - the reason being that I would strain my puree and add water to what did not strain through and food process the unstrained bits with water.  This way I got the most of out every bit of vegetable!  By no means must you do this step, I just like getting everything I can out of whatever I make!
After strain
Once you have your strained puree, cook the chopped garlic in the remaining 1 tbs olive oil in a large pot.

Once you can smell the garlic, pour in the puree.
Add water to get the soup to a desired consistency (I added about 5 cups of water total).

Add the curry powder, salt, and pepper.

Curry Powder
Cook the soup over medium-low heat till it comes to a boil.
Serve your soup (about 2 large ladle fulls or 1 1/2 cups).

For added flavor and creaminess -put a dollop of yogurt in the soup.  It gives the soup an extra tang and compliments the eggplant.  


Note - if you dislike eggplant, this soup is a great way to incorporate it into your diet without being overwhelmed by complete eggplant taste and you can always add a bit more tomato if the flavor is too strong for your tastes.


Saturday, January 7, 2012

Simple Pizza

I love making pizza dough and fresh pizza at home.  With a pizza stone, it always comes out nice and crisp, but even without a stone, it's delicious, hot and fresh!  The fastest and easiest way to make a pizza at home - buy the dough at your local supermarket (most markets have a deli/catering area - all you need to do is ask) or your local favorite pizza eatery.  These places are often happy to sell a ball of their dough to you.  I went to an amazing Italian market with a deli that sells sandwiches and 18" pizzas as well as ingredients imported from Italy.  They sell a fresh ball of dough large enough to make a 20" pizza for about $5.  If you live or drive by a Bertucci's - they also sell their dough for a few dollars.  So when you have cheese and tomato sauce at home but no time to make dough and wait for it to rise - just go with this route.
In an attempt to make my pizza slightly healthier, I experiment with different ratios of white and wheat flour.  I don't have a perfect recipe down, when I add wheat flour, the crust is more dense and not as crispy.  When I use just white flour - it's always unhealthily delicious {ahem}.

Recipe- about a 14" pizza

Dough Ingredients:
Note - this is the recipe I use and will play with, you can add about a cup of warm milk in place of one cup of water and switch in wheat for white flour to your taste.  I sometimes add the milk (it seems like it helps keep the dough soft and stretch but is not an essential ingredient).

1-2 tbsp of fast dry active yeast (or one packet)
1 tsp of sugar
3 cups of warm water (not greater than 110F, it should feel hot but not uncomfortable to your fingers)
3 cups of white flour
1 1/2 tsp salt
2 tbsp of olive oil

This recipe can be done by hand, with a Kitchen aid mixer, or a Cuisinart food processor - I've tried all three methods and think the food processor is the easiest!

Bloom the yeast - add the yeast, sugar, and one cup of water to a large bowel or to the mixer bowl.
Let the yeast mixture sit for 5-10 minutes, you will see the yeast granules puffing up (blooming).
Add half of the flour mixture and mix well (stir, pulse etc.)
Continue to add enough water to moisten dough and add rest of flour mixture and salt.
When dough begins to come together, add 1tbsp of olive oil.
Continue to mix together until dough forms a ball that is not watery or sticky but is cohesive and soft to touch.
Coat your bowl with 1 tbsp of olive oil, put ball of dough in the oiled bowl, cover (with a lid or plastic wrap) and let rise.
Let rise minimum 2 hours before use (this part can be varied:  you can let the dough rise in 2 hours and pack it down and reform the ball and let rise another hour then use OR you can transfer your dough to the fridge overnight and take the dough out of the fridge 1-2 hours before use).
This dough can be kept in the fridge for several days or frozen for months!  So if you want to make a few batches and throw them in your freezer for pizza anytime - feel free to double, triple the recipe.
Dough after 2 hr rise
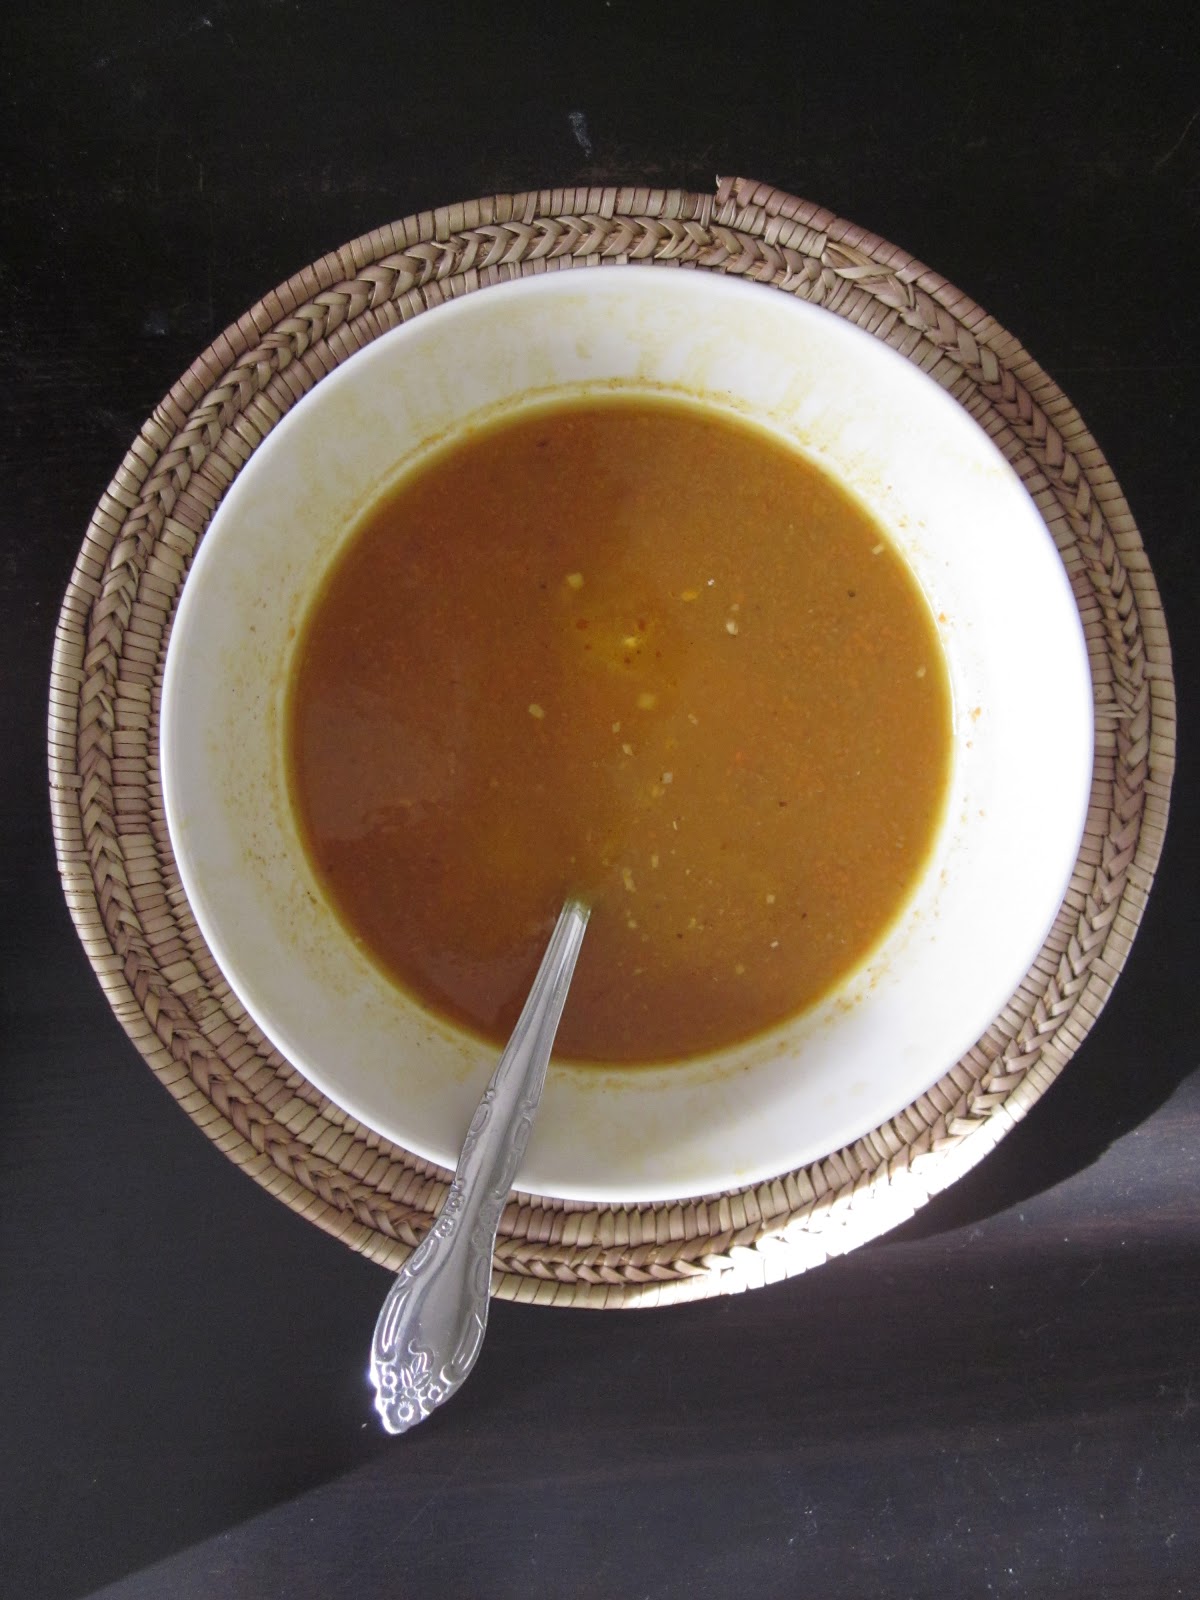
Sauce Ingredients:
This is an estimate and really to taste, some people like a little and other like a lot of sauce, so use your judgement for how much sauce and what kinds of herbs to add.

1/2 can of tomato sauce (~7 oz/less than 3/4 cup)
garlic powder to taste (I use less than 1 tbsp)
dried oregano to taste (1 tbsp)
dried basil (1/2 tbsp)

Sometimes I'll add rosemary and sometimes I'll leave out the basil if I have fresh basil as a topping -it's a pizza so put what you like!


Toppings: ANYTHING

Often, I use already shredded part skim mozzarella cheese and sometimes I'll buy fresh mozzarella ( use about 1 cup).

I also enjoy adding spinach, sauteed mushrooms, onions, bell peppers, broccoli (I like veggies but the pictures are just for simple cheese pizza).
My sister loves artichokes (canned or frozen) and my mom loves jalapeno!

Preheat your oven to 425F.
If using a stone - keep it in the oven and let it heat to temperature.
Roll out your pizza dough on a floured surface to the desired thickness - making sure to keep sprinkling flour on your counter so the dough wont stick.  I like a moderately thin crust.


If using a pan, transfer the dough to a greased pan (tip - use cooking oil spray) and bake for till the crust is golden.
If using a stone - transfer the dough to a wooden peel sprinkled with corn meal - be careful to not overdo the cornmeal but you need to be able to slide your pizza (with toppings and all) off your peel.  This part can be tricky!
Add the sauce.
Add your toppings (I like to put toppings then cheese but I hear that others like cheese then toppings!)

Don't worry about the shape, the pizza will still taste great!
Pop your pizza (in a pan) into your oven and bake for 10-15 minutes.
If using a stone - sprinkle a little bit of cornmeal on the stone (not too much) and then slide your pizza off the peel onto the stone.
The trick here is to tip the end of your peel just at the furthest edge of the pizza stone and shake with a quick motion.  I have lost cheese and toppings and have had misshapen and smooshed crusts but after a few tries you can get the feel for successfully sliding your pizza onto the stone
Bake for 10 minutes on the stone (it's faster because the stone was already so hot).


Let your pizza cool for at least 5 minutes before cutting and devouring.  Mmm!

With a small salad, this makes an easy light meal.

Friday, August 5, 2011

Caprese Salad

Finally posting for the first time.  With ripe delicious tomatoes and fresh basil, this is a perfect summer salad.  I've made this a simple and savory variation from the traditional Caprese of tomatoes, basil, and mozzarella.  This is perfect for a single lunch serving or as a salad to share for two before a meal.  Enjoy!

Ingredients:
2 cups Arugula
1/2 Ripe Tomato - medium sized
2 sprigs of Basil 
2-3 Tbs Red Onion
1/2 Red Bell Pepper
2-3 Tbs Fresh Mozzarella
1/2 - 1 Tbs Extra Virgin Olive Oil
1/2 - 1 Tbs Balsamic Vinegar
Salt & Pepper to taste


Slice the tomato and red pepper into bite sized pieces.
Thinly slice the red onion.
Julienne the basil (cutting them into small thin ribbons).
Julienned Basil
Cube the mozzarella into bite sized pieces.
Place into bowl and toss lightly.  Drizzle olive oil and balsamic vinegar over salad - using 1/2 Tbs was enough for me but if desired using 1 Tbs of both.  Sprinkle salt and pepper to taste - I used about 1/4 tsp.  


Ready to eat and enjoy!